
We’ve been in the photography business since 2008, and by now we’ve edited countless product photos with our photo editing service. There is one problem though: a lot of the product photos are not photographed correctly. We’ve decided to create a step-by-step guide to taking your own product photos to help out online retailers who want to take product photos that look a lot more professional.
As we all know, creating a good product picture is essential if we want to sell our products online. But did you know that you can create a quality picture with just your smartphone? Here are a few tips to help you do just that: -Make sure your lighting is good. The better the lighting, the better the picture will look. -Try to take the picture from an angle that makes the product look its best. -Take a few different shots and choose the one that looks best. -Edit your picture using a free app like Instagram or Photoshop. -Share your picture on social media and advertise your product with it!

Choosing the right camera
Nowadays that’s not such an important point anymore. Most smartphones take amazing pictures, and compact cameras can also be used for product pictures. If you do own a DSLR camera, you should consider using it to take your product photos though.
You want to know how to take product photos with your smartphone? No problem! With a few tips, you too can create high-quality product images that will convince your customers. All you need is a steady hand and a few minutes of time. First, find a good spot where there is enough light. Then set up your product in the middle of the frame and make sure it is level. Now it’s time to focus. You can do this by tapping on the screen until the image is sharp. Then take the picture and check if it is in focus. If not, try again! With these tips, you’ll be able to take great product photos in no time – and all with your smartphone!

Let’s take a picture using auto mode
Yeah, no dice. The product is way too light, there are too many lights everywhere and the product casts a shadow.
You should not use flash for your product photos.
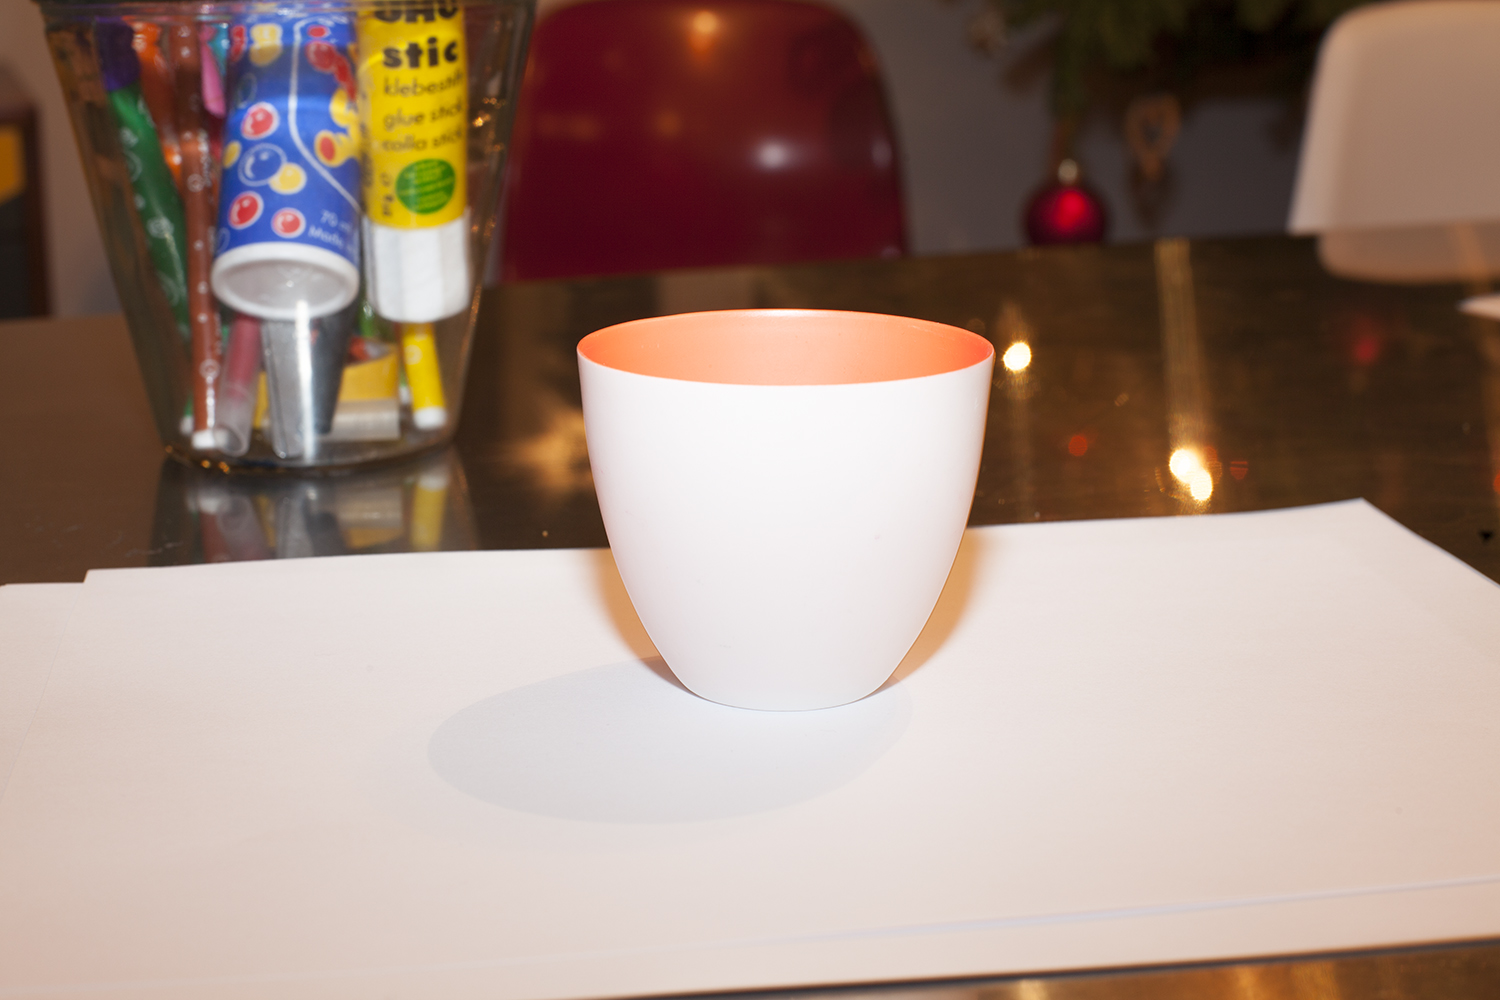
1st rule: No flash!
Let’s try taking a photo without flash. That’s better: the weird lighting is gone, but now the picture is blurry and the colours are off.

2nd rule: Use natural lighting from one source
Alright, that’s much better! We also got rid of the blurry effect by using a tripod. The manual exposure time was too long to take pictures by hand.
3rd rule: Use a tripod or something similar
If you’re using a tripod, use the timer. By pressing the release with your finger, the camera moves and the picture may become blurry.
4th rule: Choose the right distance
Set up your camera in the right distance and use the optical zoom instead of the digital zoom. Using the digital zoom reduces the quality of the image.

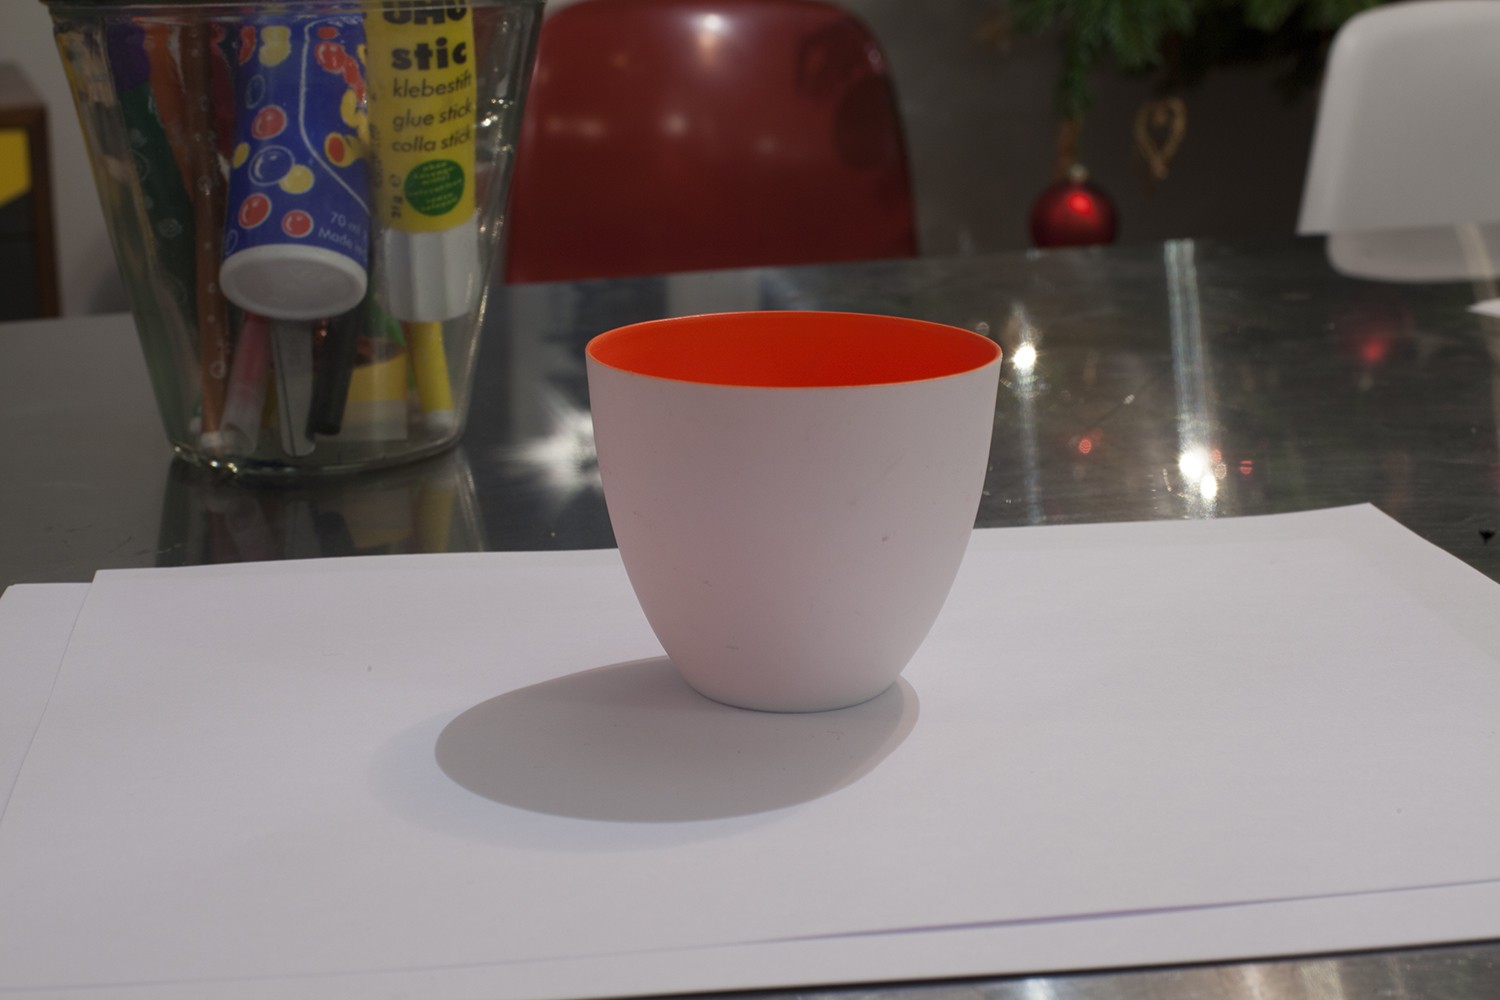
5th rule: Choose a neutral background
It’s best to choose a light background without any texture. A simple sheet of paper can work miracles. You’ll have to adjust the exposure though; overexpose by +1 or +2 to make sure that your picture does not get ruined by lighting that’s too dark.
6th rule: Overexpose the camera by +1 or +2
Looking good! But the lighting could be even better. Use a light sheet of paper or a styrofoam board to direct light where it is needed.
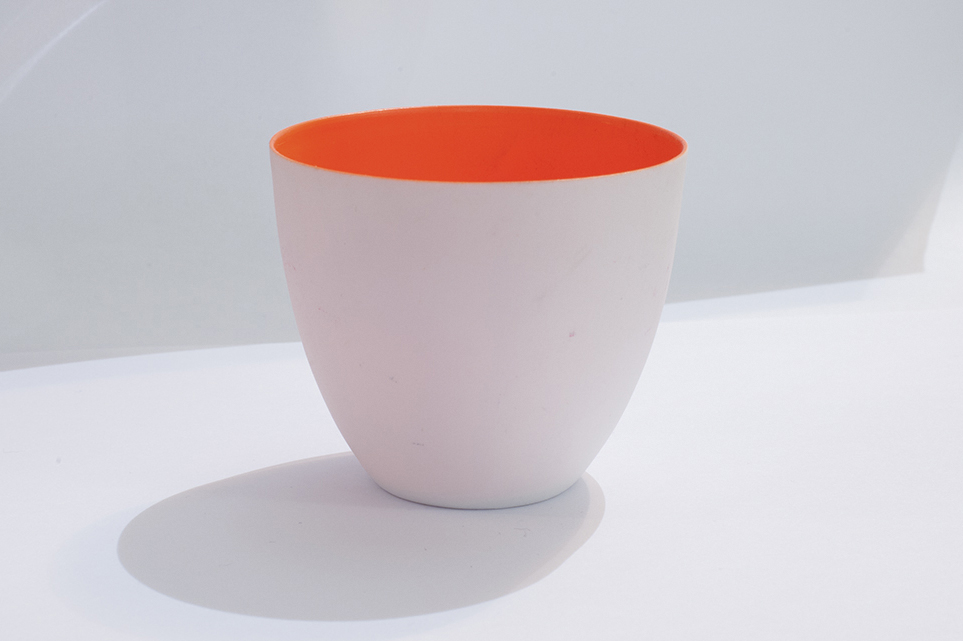
7th rule: Use reflectors
Even better. This product photo almost looks professional. The last step is removing the background and you’ll have a professional product photo in no time!

8th rule: Image editing and post-production
There are a lot of ways to refine your product photos. The background can be removed in a way that still preserves the natural shadow; it’s not always necessary to create a new shadow from scratch. Another possibilty is sharpening the image and adjusting contrast and luminosity.

With some DIY and a partner like PimpYou you can easily take your own professional product photos.